Heat shrink sleeve installation
The heat shrink sleeve is included into the joint packing kit. To install it, you will need all the components of the kit anyway. This article provides step-by-step instructions on how to install the heat shrink sleeve on a joint not sealed at the factory.
Preparation for work
Before you begin, there are a few important points to be noted.
- The section of the heat pipeline must be pressure-tested;
- The air temperature must be not lower than -10 °С;
- A shelter to protect the working area from moisture and precipitation must be provided.
Prepare the pits to allow for working on the lower pipe section. To ensure comfortable work, it is sufficient to dig 0.7 meters wide and 0.4 meters deep on both sides..
Weld the inside pipes without insulation. The welded joint must correspond to the following criteria:
- up to 30 centimeters for Ø 57—219 mm (up to 315 mm for Type I insulation);
- up to 45 centimeters for Ø 273 mm and more (400 mm and over for PE shell).
Start the installation!
Pipeline joint installation using a heat shrink sleeve according to GOST 30732-2020
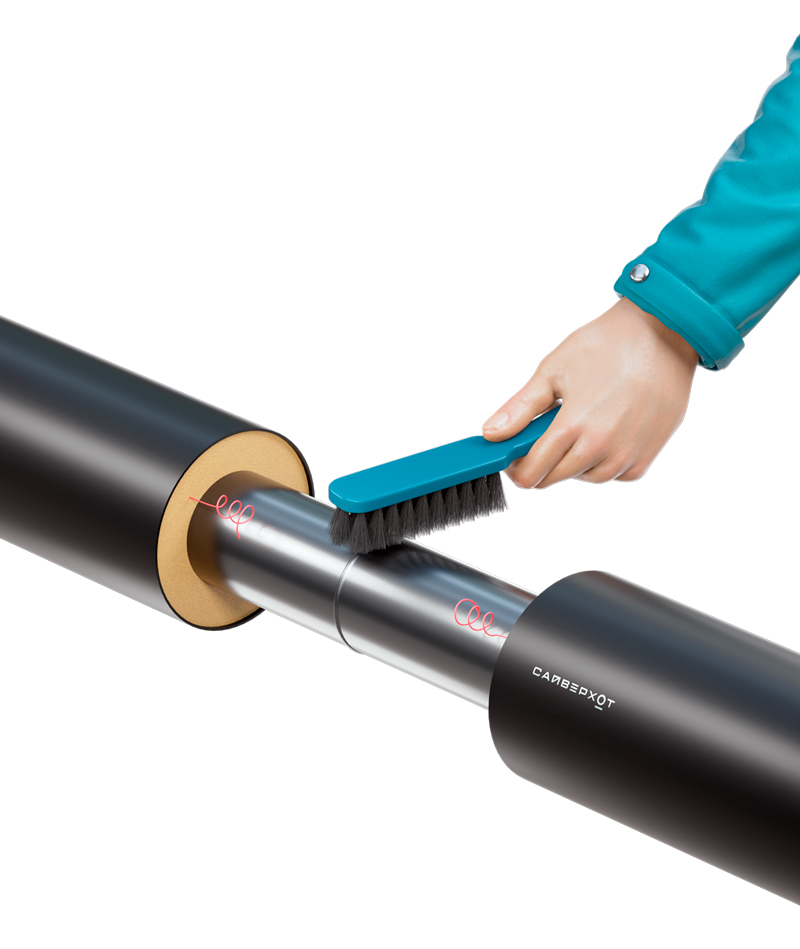
Strip 450-700 mm of the outside pipe shell. Apply corrosion-resistant coating to the uninsulated inside pipe, remove contaminants and rust with a brush.
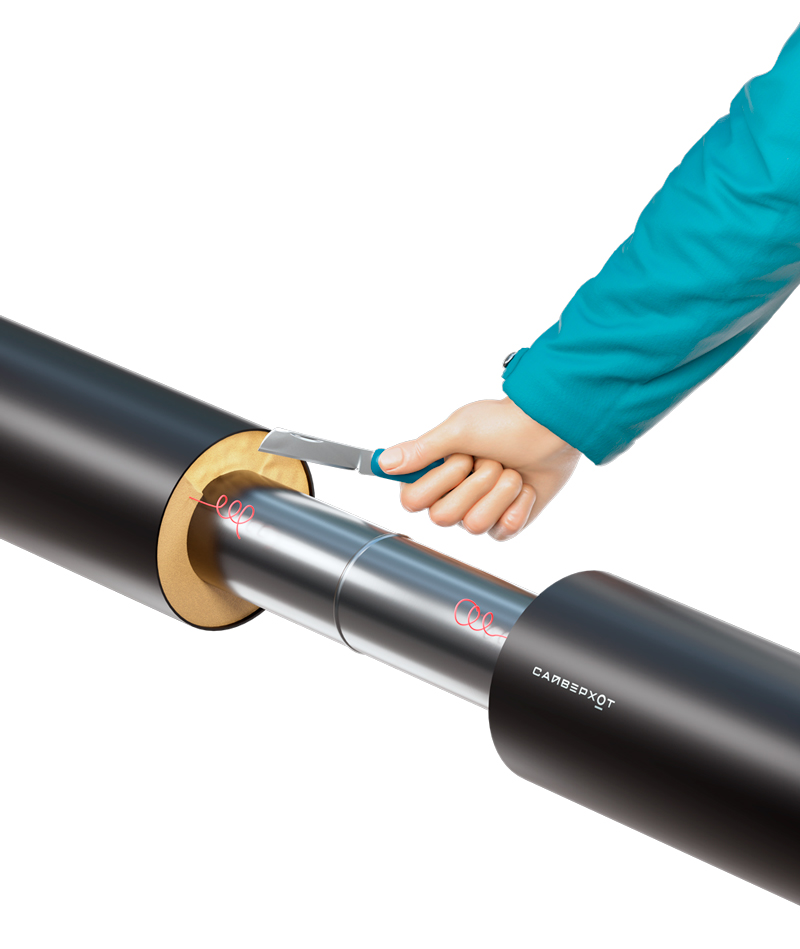
During the transportation of PUF pipes to the site, moisture could have penetrated the insulation through its ends. Remove 1.5-2 cm of insulation — this will ensure reliable adhesion of the polyurethane foam used to seal the sleeve cavity with the factory-made PUF layer. If the moisture has penetrated deeper into polyurethane, it is removed or dried.
After stripping the PUF layer, connect the conductors of the rapid remote control system as described in the manual.
Mark the future sleeve edges. Using a measuring tape, align it with the joint axis. Keep in mind that using a chalk is not allowed. For polyethylene better use a marker pen.
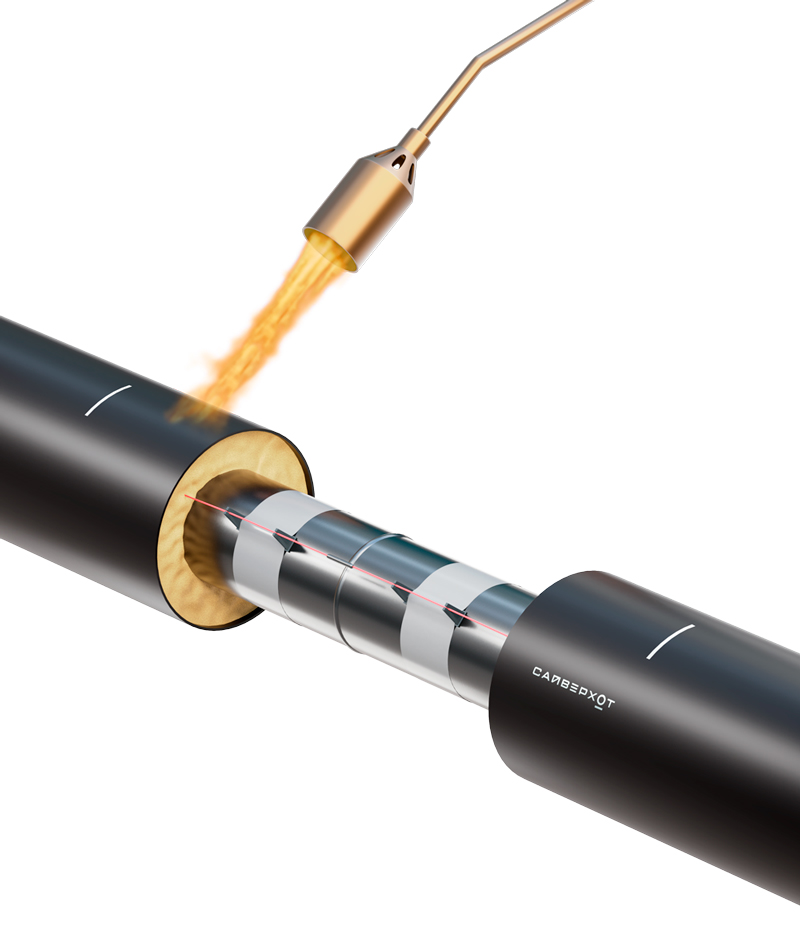
Using a propane burner, heat both sides of the PE-shell surface to 120 °С. Please note: overheating will result in appearance of spots — do not let this happen. Watch the flame to keep it smooth.
Apply the adhesive mounting tape with the reinforced layer facing upwards. Ensure a 5-10 mm overlap on the marks and a 10-30 mm safety margin of adhesive in the area where the shell and sleeve are joined.
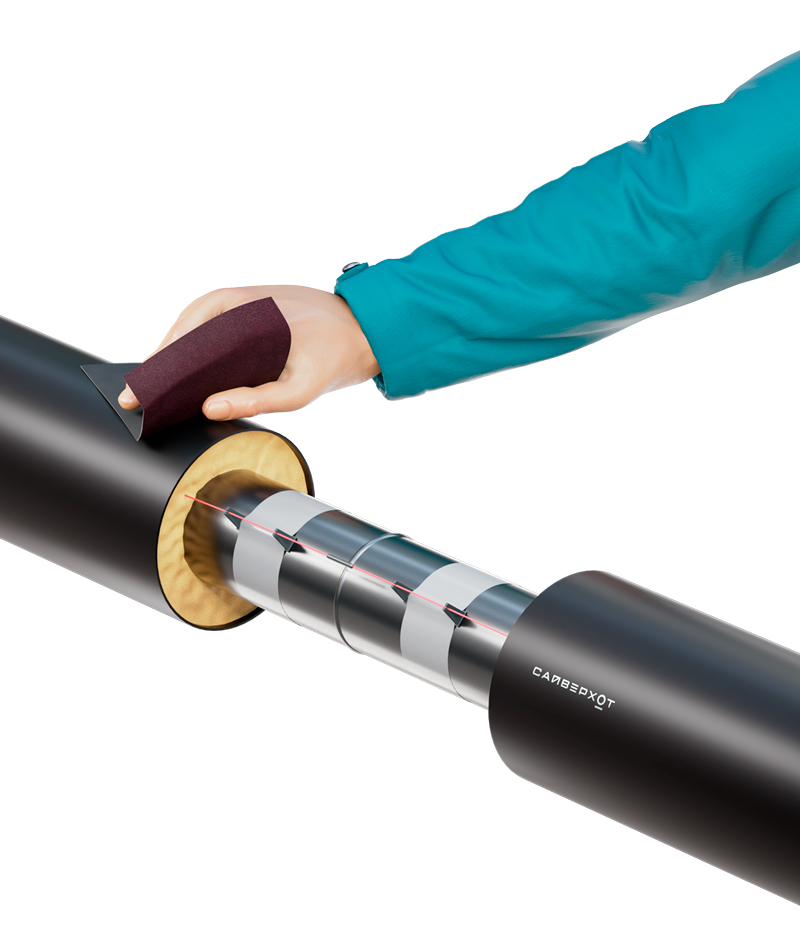
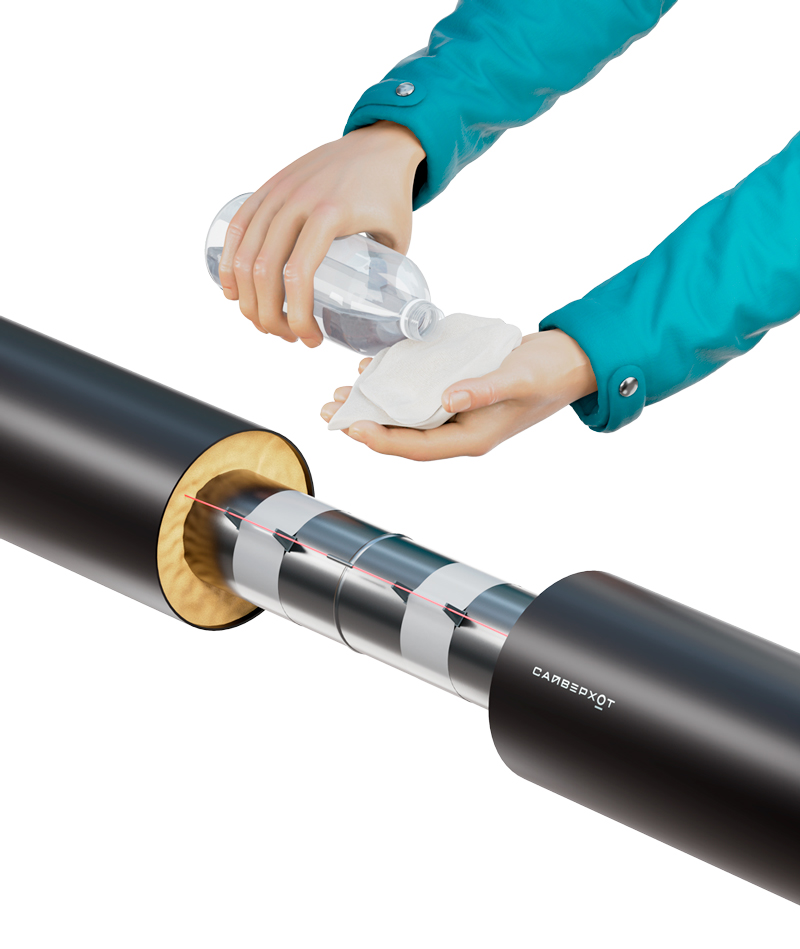
Remove the white film from the sleeve and move it flush with the marks. Again, clean and degrease the shrinking area to 150 mm in order to ensure a perfect fit.
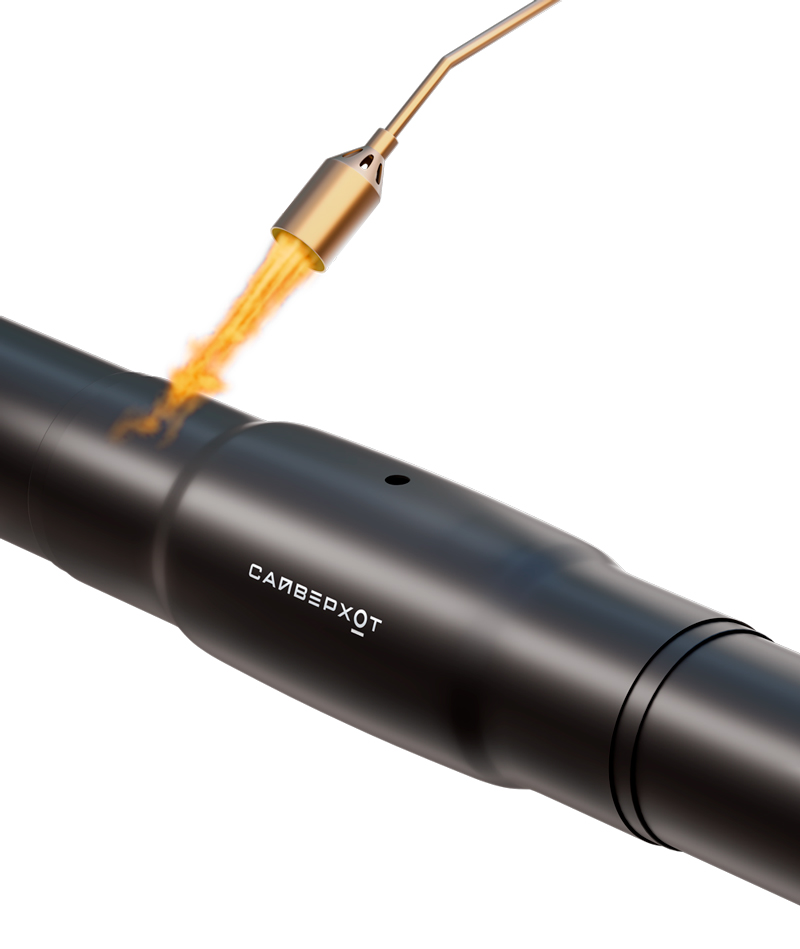
On top, make a hole 25 mm dia to fill the polyurethane components and vent the air.
Smoothly and gradually heat the sleeve edge moving in circles. You will notice that it is shrinking. Keep heating until the edge becomes soft (wear gloves!). Repeat the procedure on the other edge.
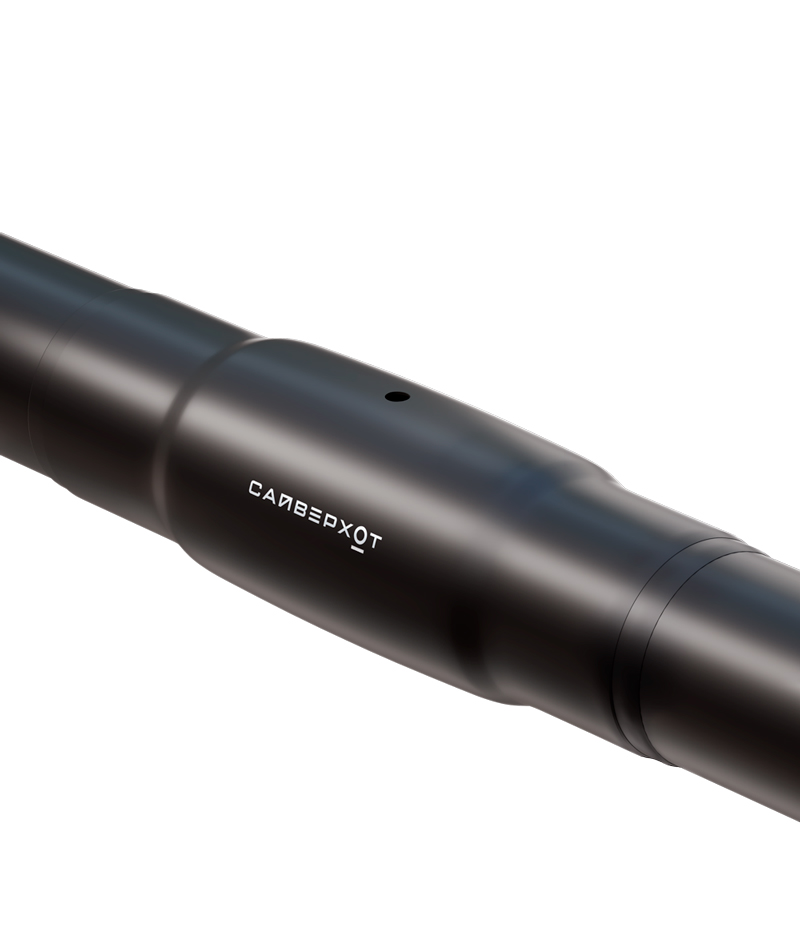
Then repeat the actions until the shrinking is complete. Important: watch for the tight fit, the product should not bulge or wrinkle.
When the sleeve cools, heat it again. It will look like a barrel — compressed at the ends and swelling lengthwise. To reinforce the joint, apply thermal tape on the product edge and heat it.
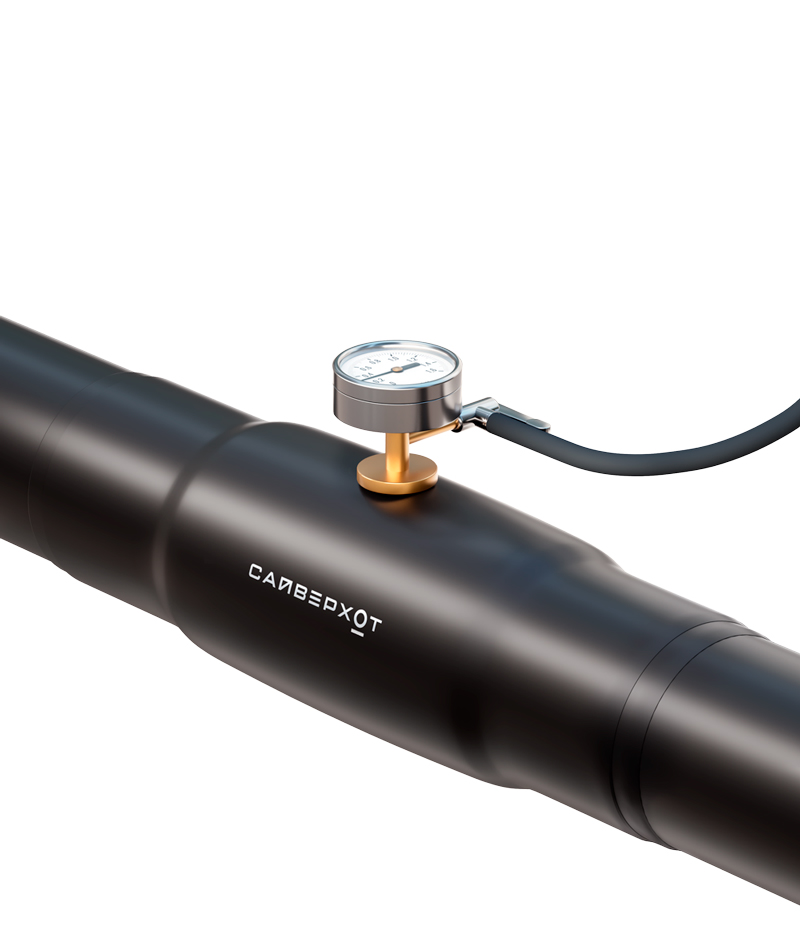
After cooling, take a pressure test: connect the testing device to the hole and supply air at the pressure of 0.3 bar. Maintain the pressure for 5 minutes.
What if the pressure drops?
1) Using soap solution, find the areas of poor adhesion between the shell and the sleeve;
2) Heat these areas using a burner again;
3) Repeat the test
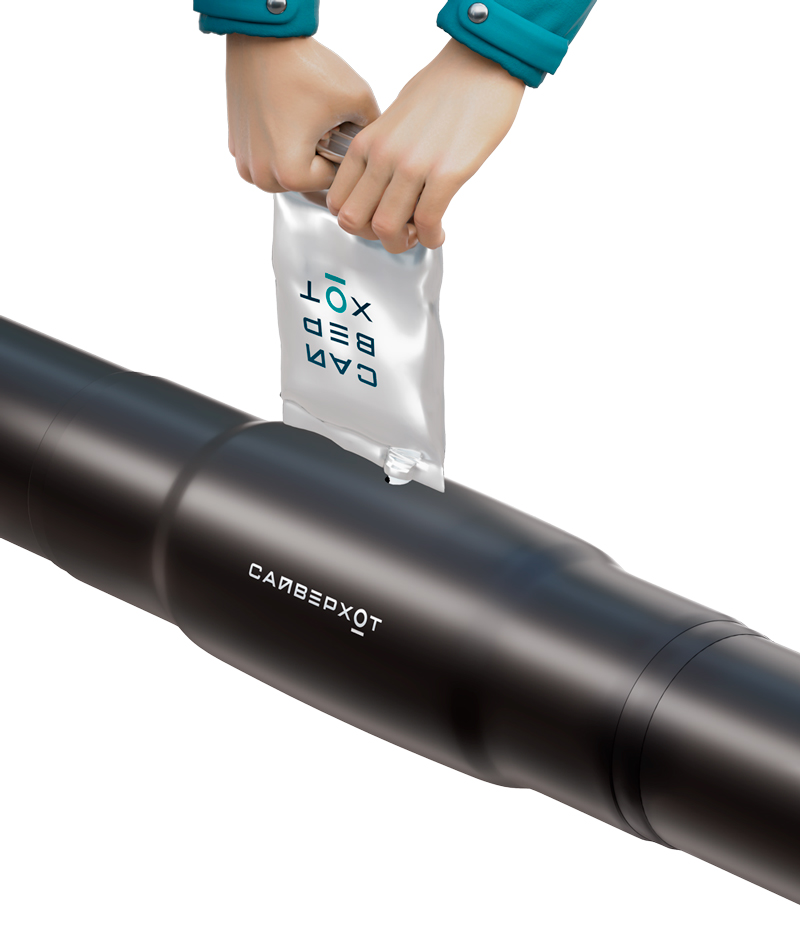
Fill the PUF components according to the manual
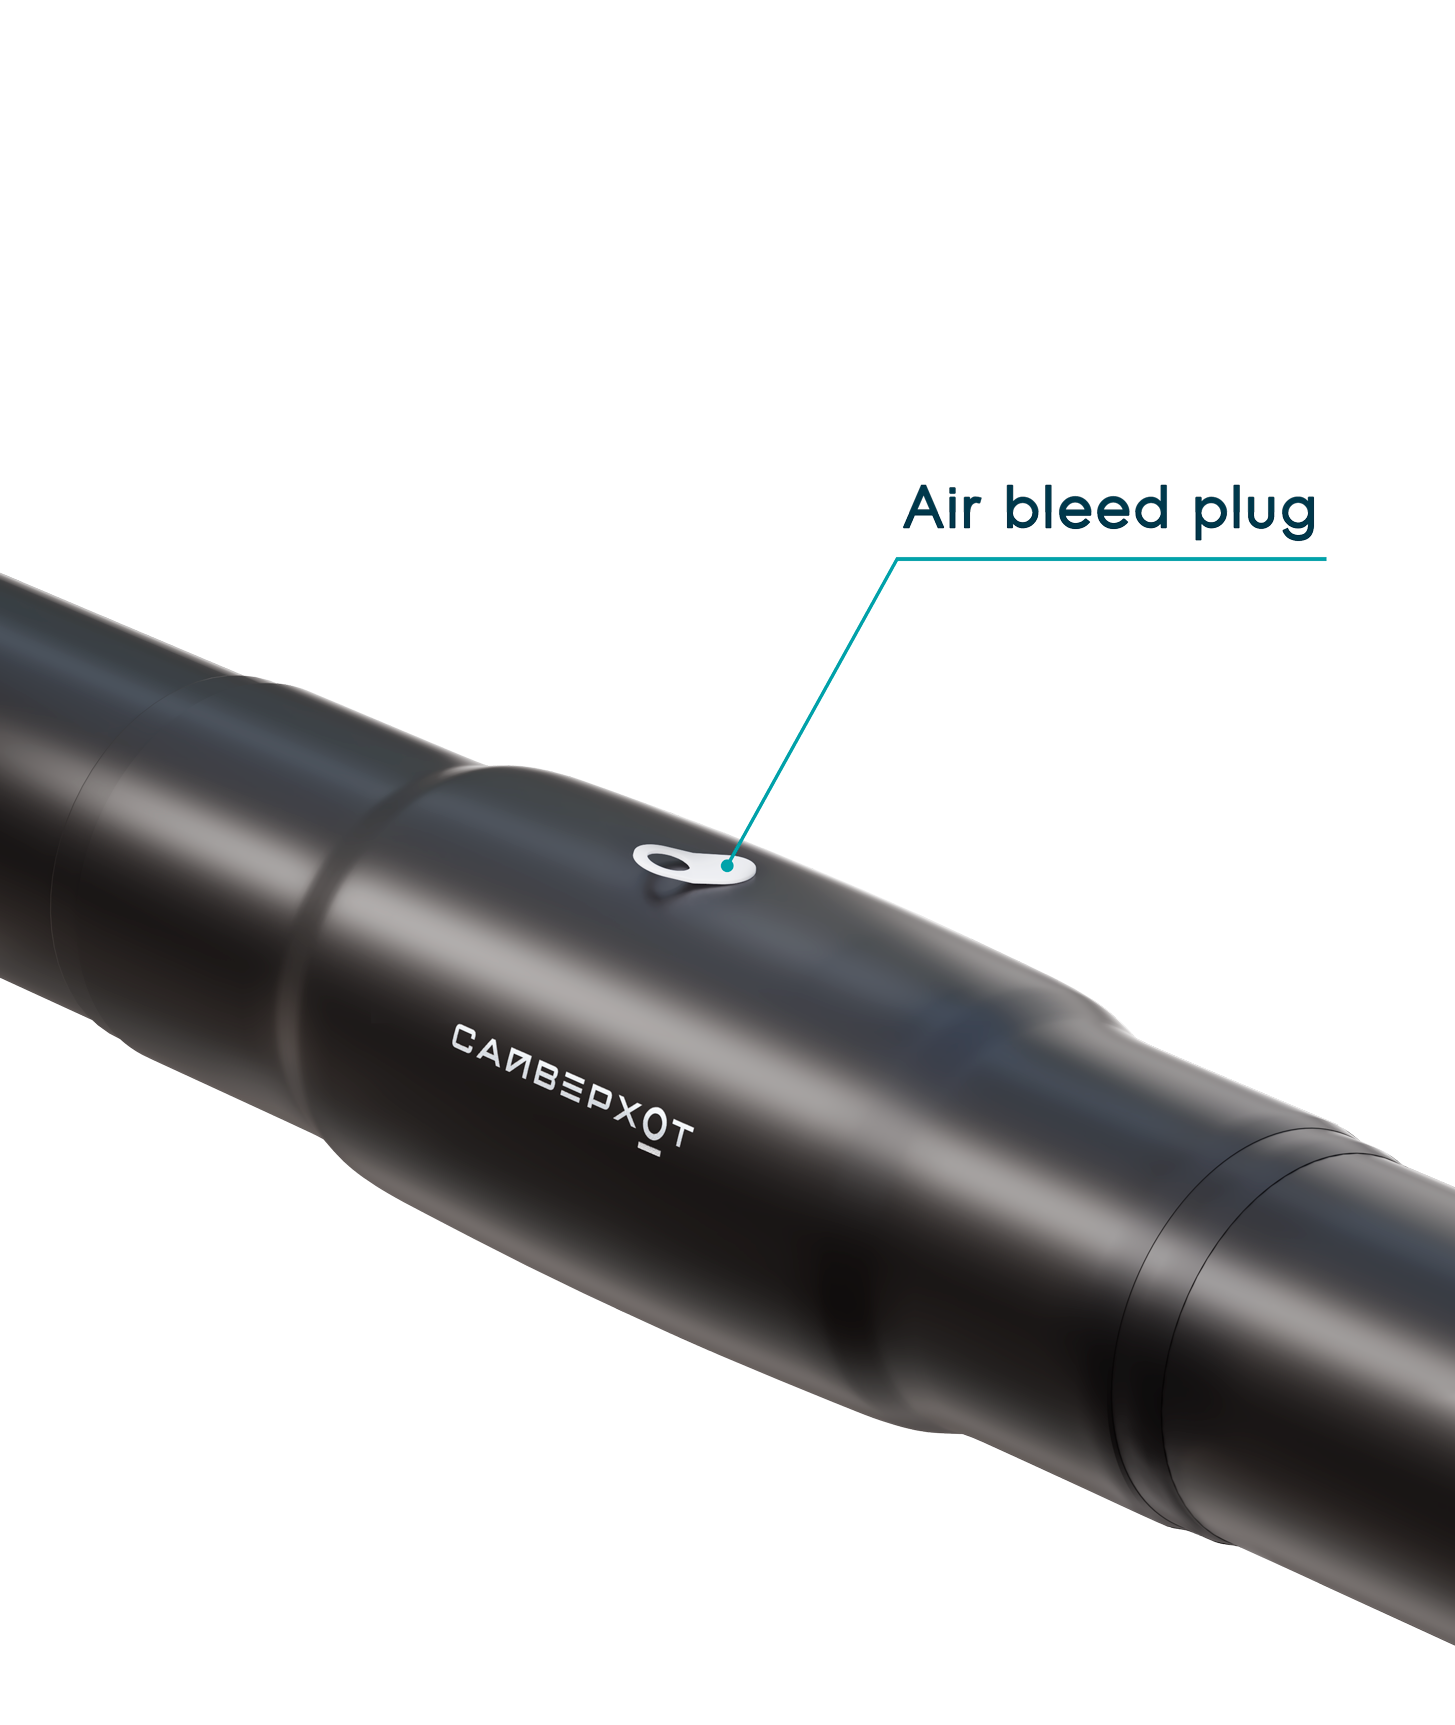
Seal the hole with a drain plug, this will force the excess air out. When you notice the components to start leaking, the polyurethane foam has completely filled the product volume. .
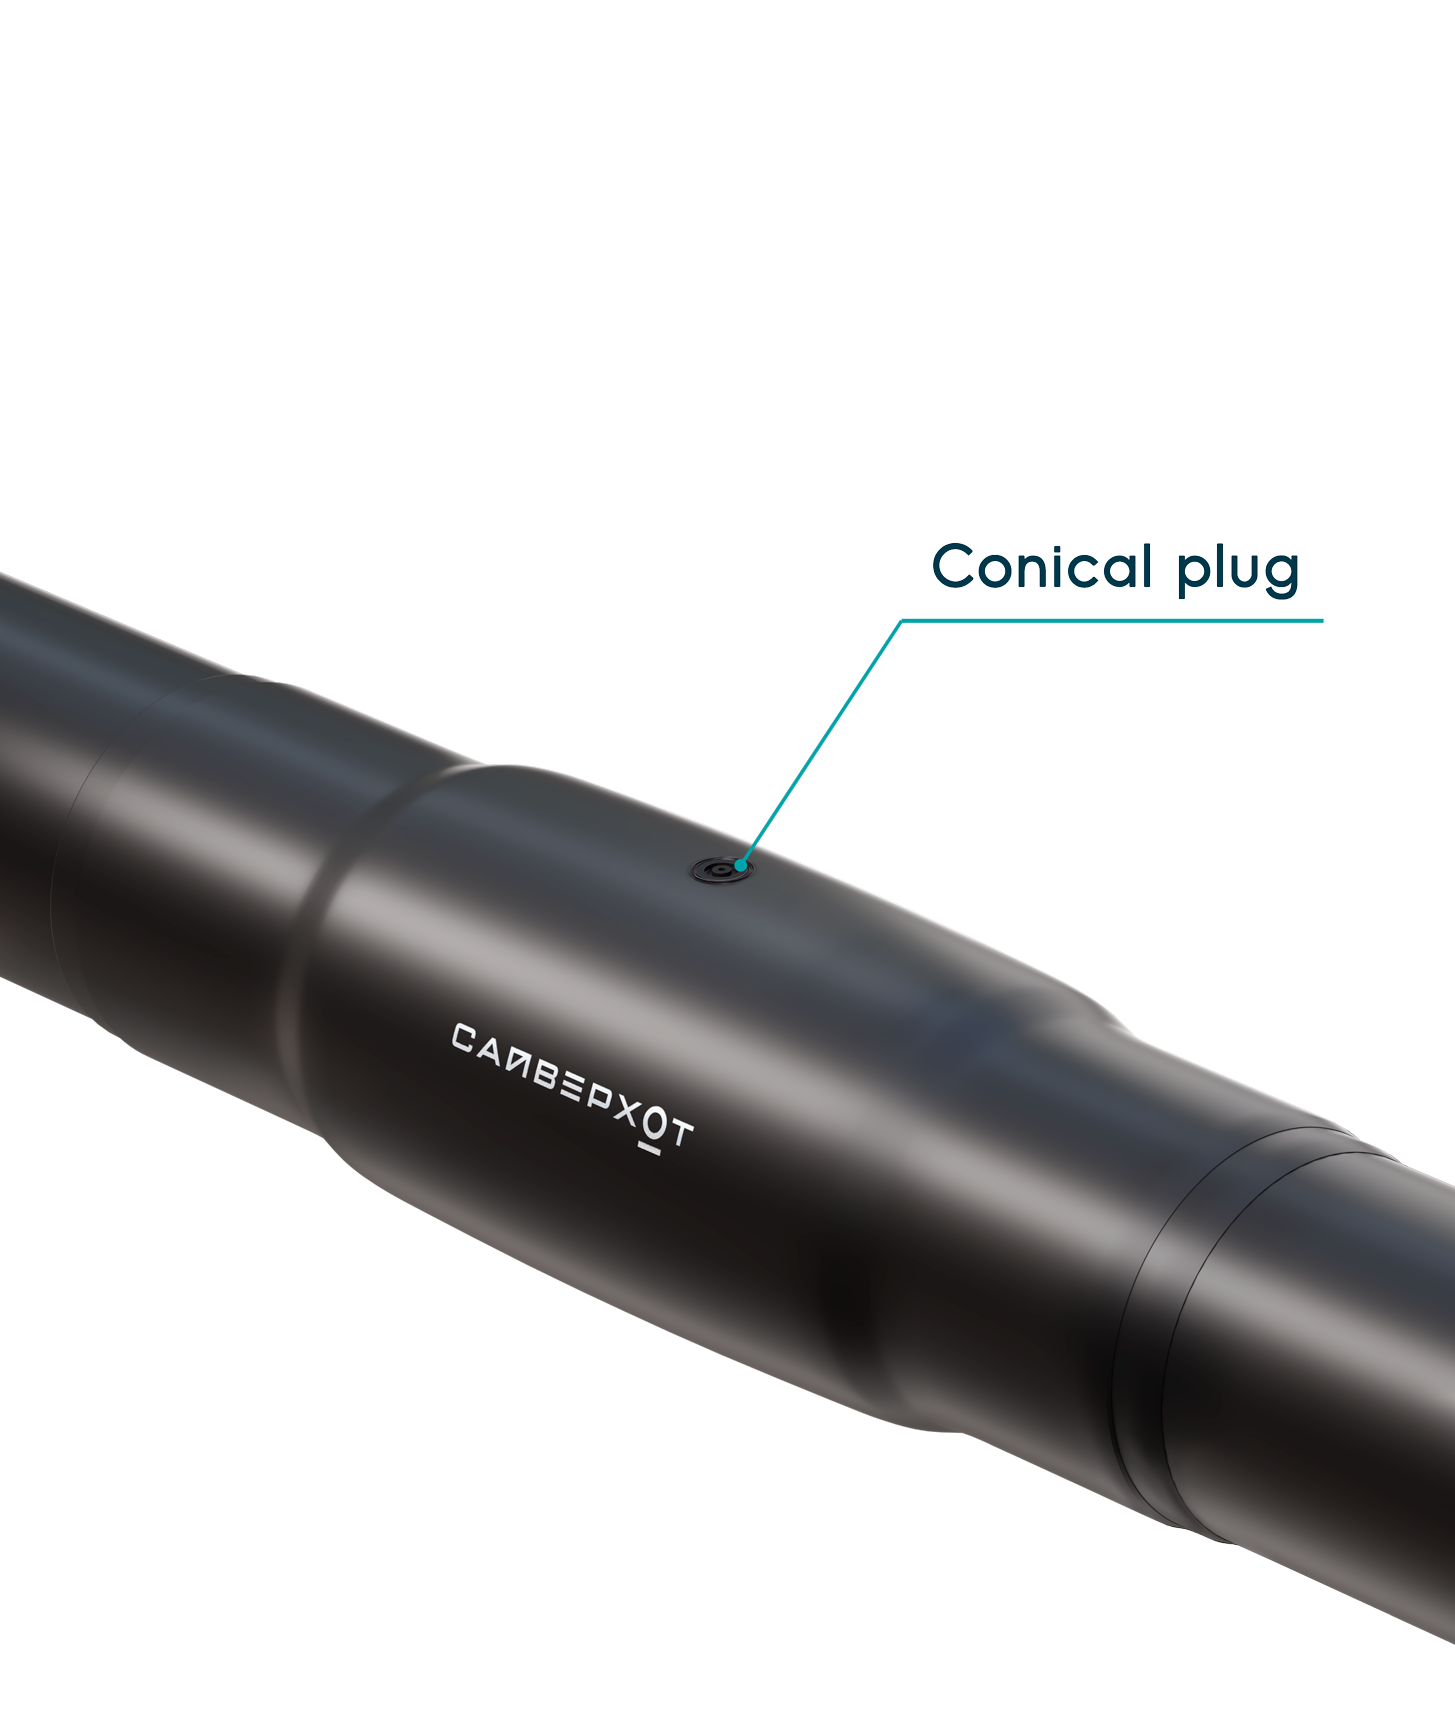
In 10-15 minutes the polyurethane foam will harden. After that you can clean the surface from foam and machine the hole using a taper mill.
Weld a polyethylene plug into the machined hole. To do this, insert the plug into the inside cone of the steel tool heated to 240 °С. Put the outside cone into the sleeve hole and press it down to the depth of 2 mm. Keep the plug pressed down for 20 seconds to allow the melted polyethylene to harden.
Notes on the shrinking of sleeves with the diameter above 315 mm
- Use wedges for aligning to avoid misalignment;
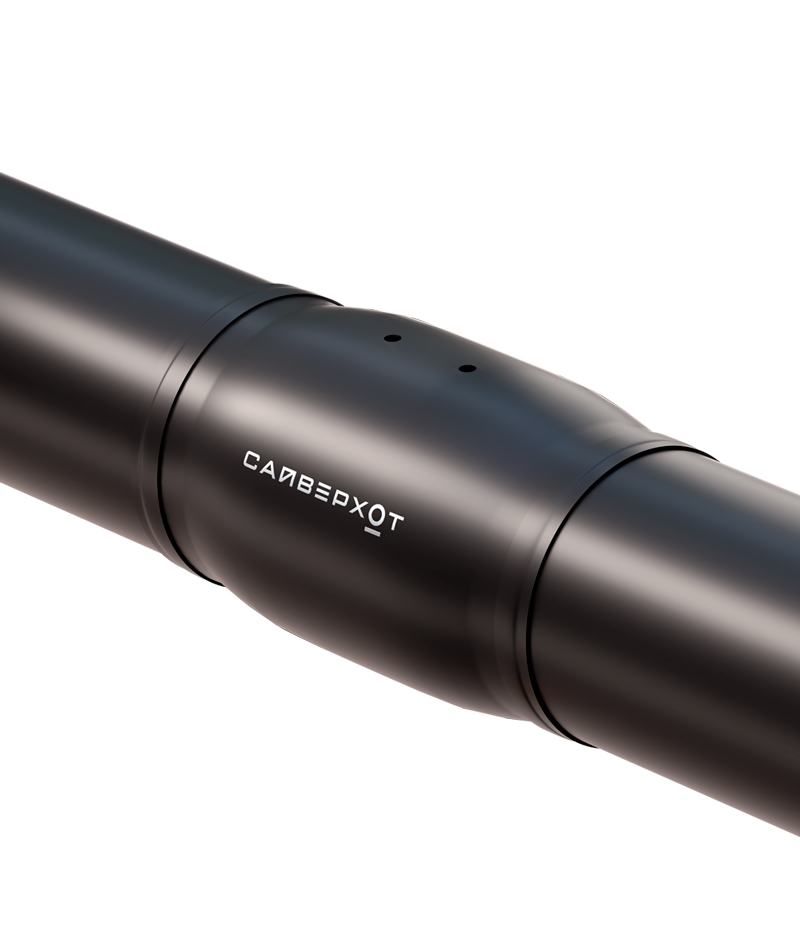
- Drill two holes: for components and for the plug;
- Remove wedges after heating when the gap between the sleeve and the shell is reduced to 5-7 mm. Continue to heat after removing the wedges.
- Additionally, heat the sleeve ends to t 120 °С for 15 minutes if its thickness is over 7 mm. Secure the edges with bandage straps. After cooling, remove them and apply thermal tape.
